How to use Azure sms service
In this azure sms gateway guide you will get detailed instructions on how to send SMS messages with the help of Ozeki NG SMS Gateway from your virtual machine created in Microsoft Azure. Please follow the instructions and check video tutorials and configuration screenshots, as well.
What is Microsoft Azure?
Microsoft Azure is Microsoft's public cloud platform. It provides a lot of cloud services. Azure supports the broadest selection of operating systems, programming languages, frameworks, tools, databases and devices. Users can pick and choose from these services to develop and scale new applications, or run existing applications, in the public cloud.
How this solution works
To be able to send SMS messages from Azure, first you need to create a virtual machine in your own resource in Microsoft Azure. If you have already create a virtual machine, you only need to install Ozeki NG SMS Gateway software on that virtual machine. Then you need to connect it to an IP based service provider connection (Figure 1).

In the first part of the guide you can see how to create a new resource and a Windows Server 2012 virtual machine. Then you will see how to install Ozeki NG SMS Gateway and send SMS messages with the GUI of the gateway.
Configuration of Microsoft Azure SMS solution
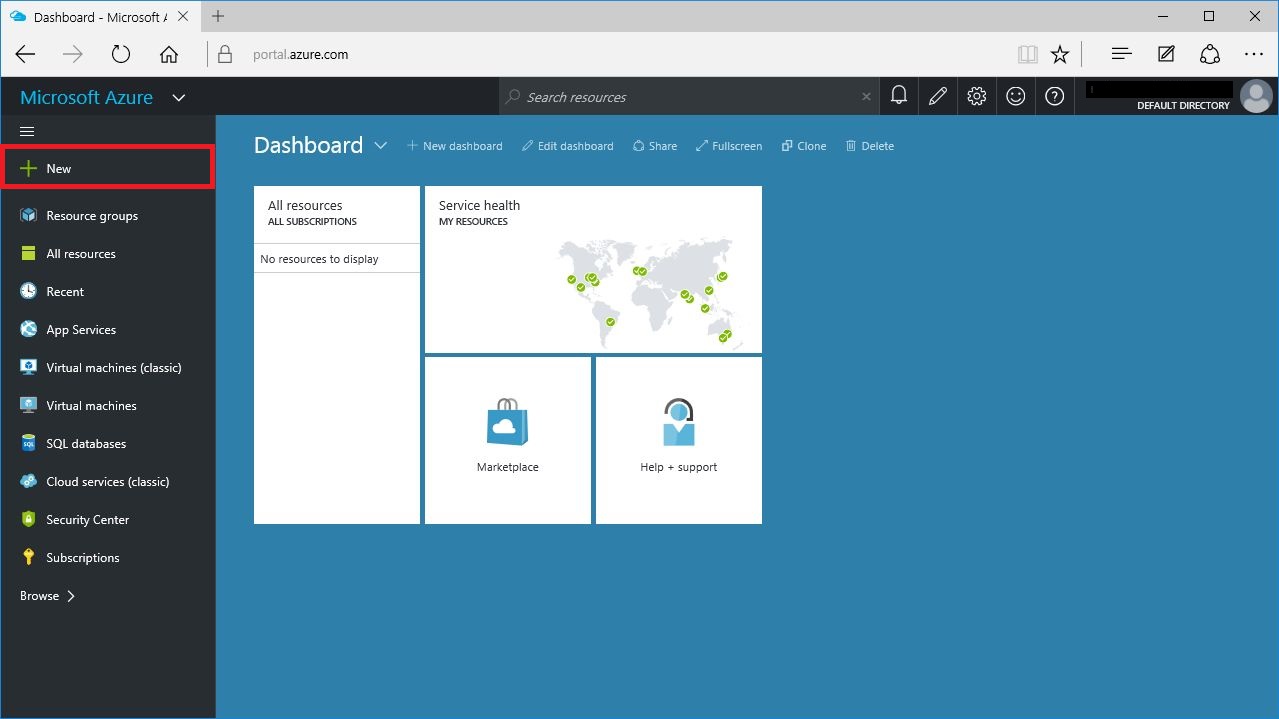
First you need to sign in to the Azure portal (Figure 2).
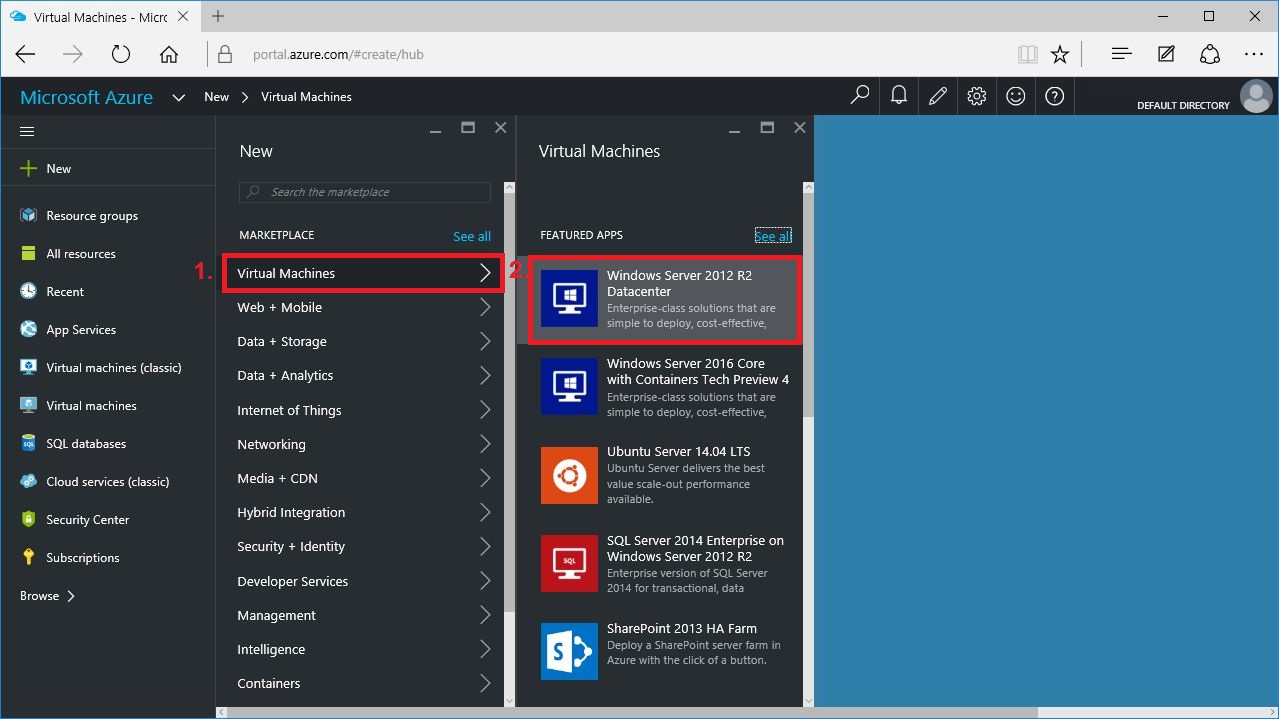
On the Hub menu, click New > Virtual Machines > Windows Server 2012 R2 Datacenter (Figure 3).
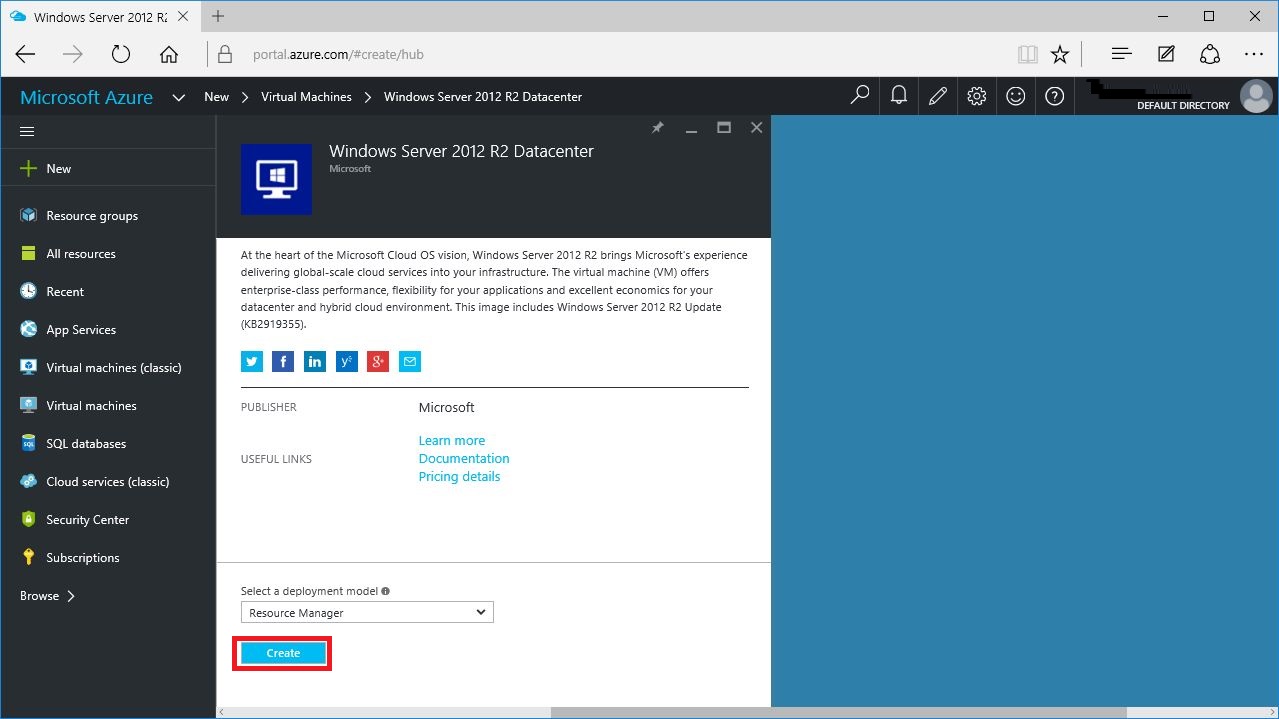
On the Windows Server 2012 R2 Datacenter page, under Select a deployment model, verify that Resource Manager is selected. Click on Create button (Figure 4).
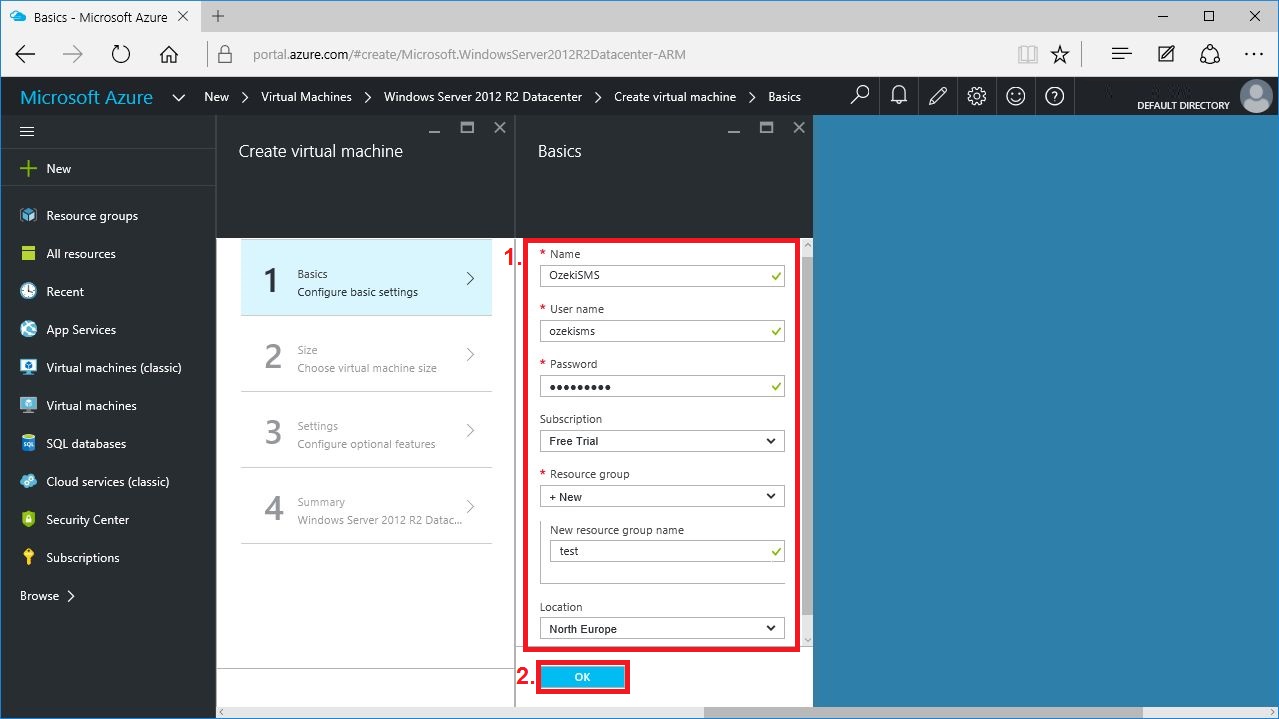
On the Basics section, you need to perform the followings (Figure 5):
- Enter a Name for the virtual machine.
- Enter a User name, and a strong Password that will be used to create a local account on the VM. The local account is used to log on to and manage the VM.
- Select an existing Resource group or type the name for a new one.
- Type an Azure datacenter Location such as West US.
- When you are done, click on OK button to continue to the next section.
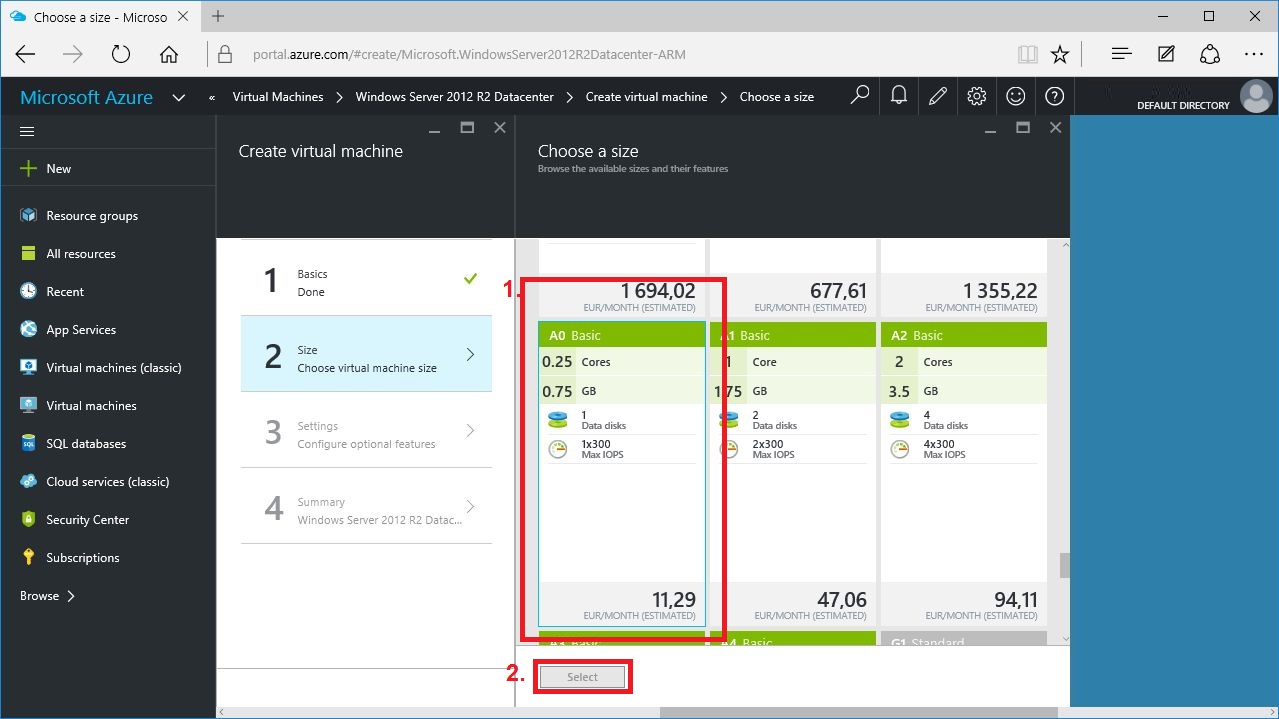
Choose a VM size and then click on Select button to continue (Figure 6).
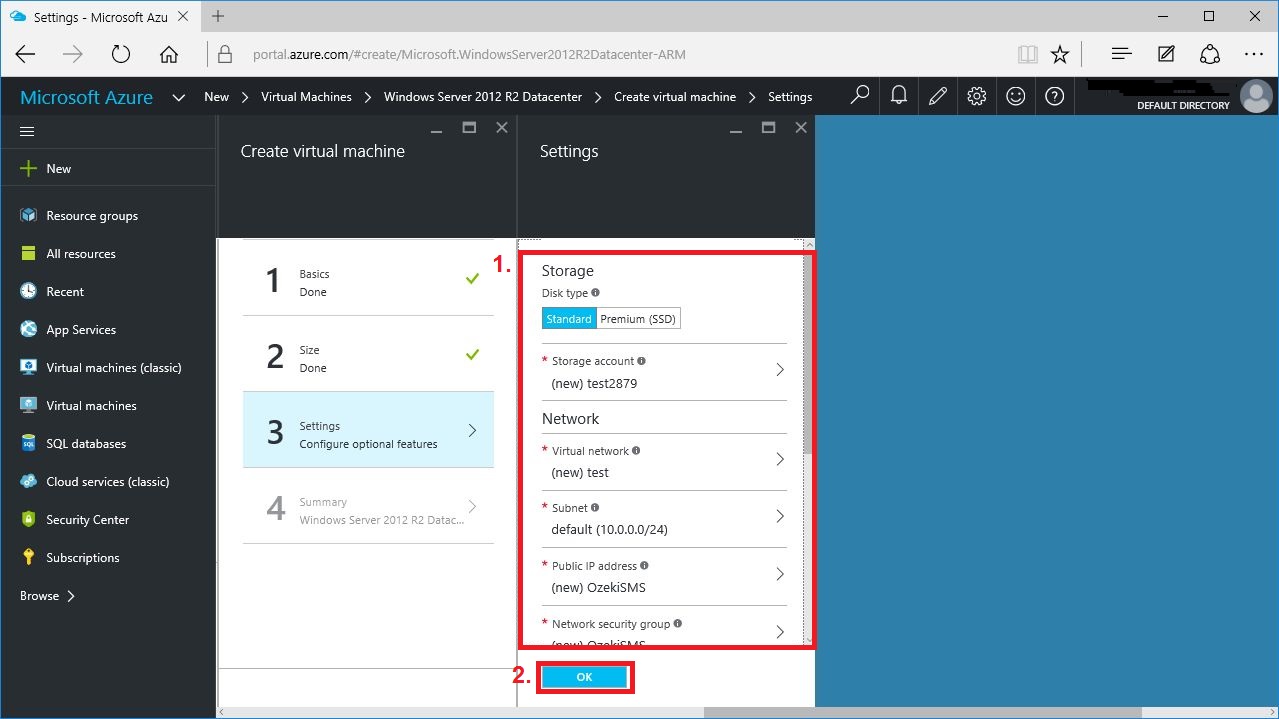
On the Settings section, you can change the storage and networking options. When you are done making changes, click on OK button (Figure 7).
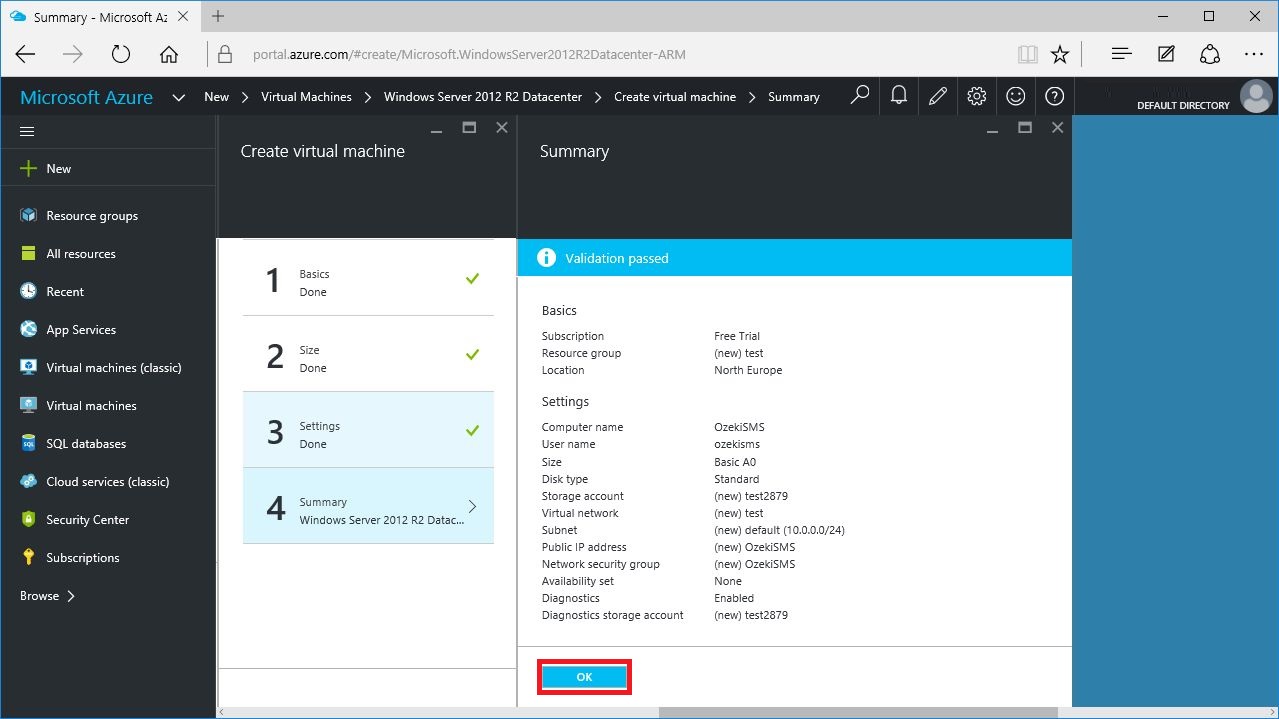
On the Summary page you can verify the settings that you have previously chosen. If everything is alright, click on OK button (Figure 8).
Now you need to wait until azure finishes the deploying of the virtual machine. It may take up to 5-10 minutes (Figure 9).
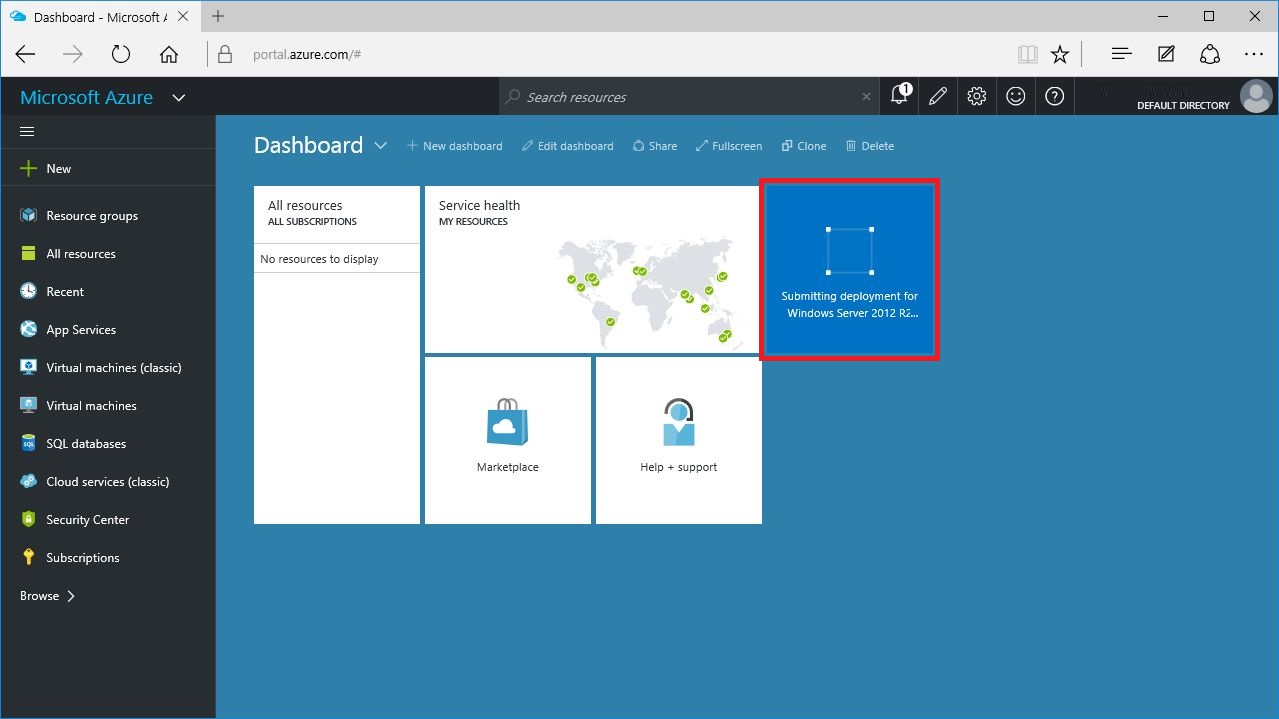
If your VM is created successfully, you can see it is running (Figure 10).
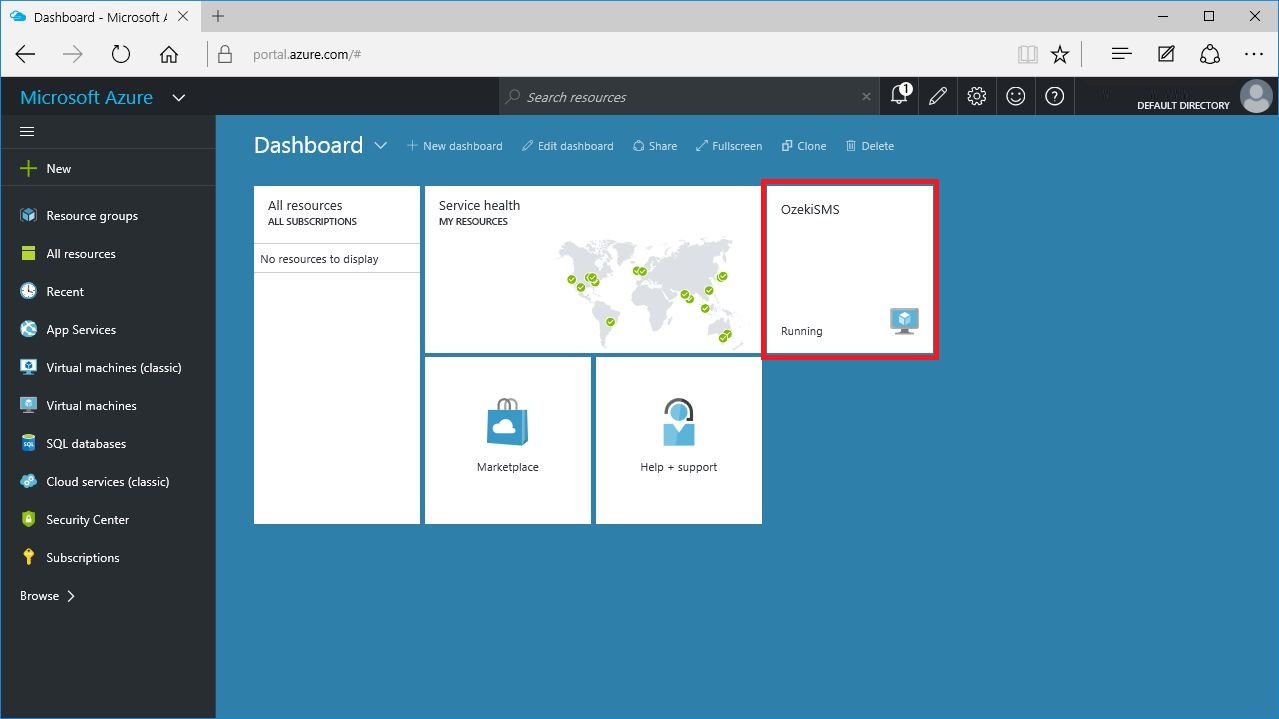
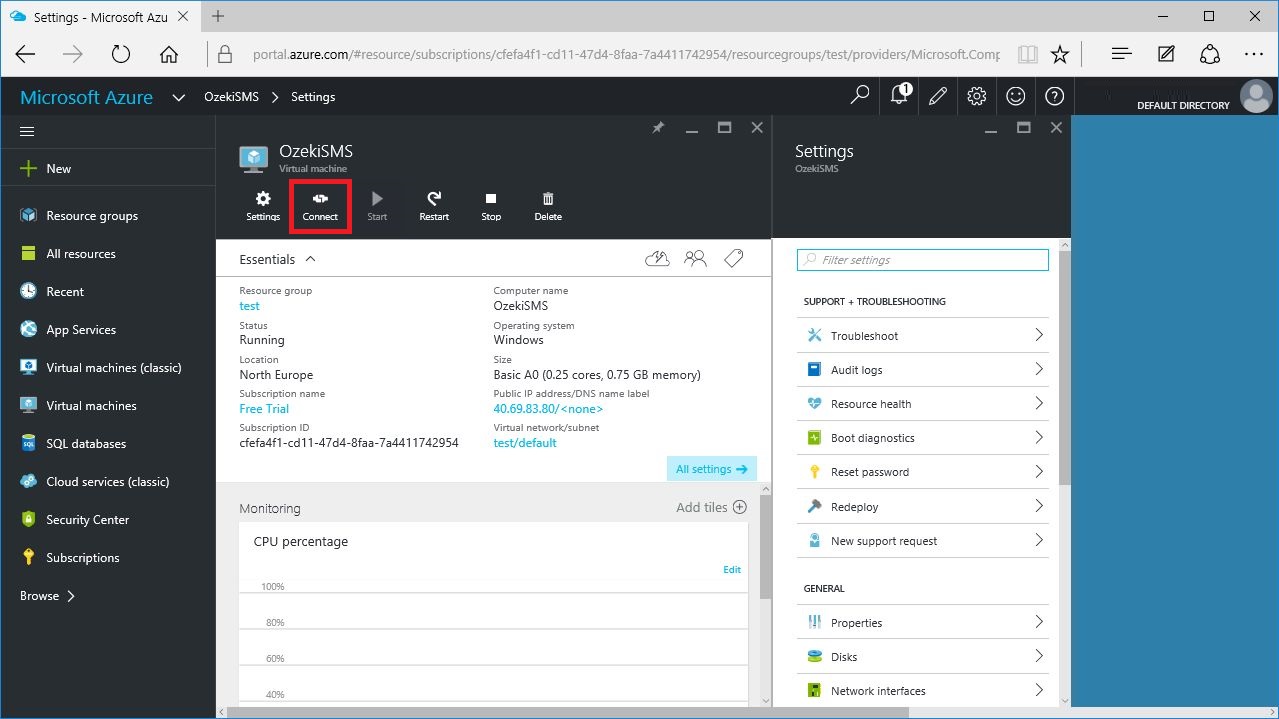
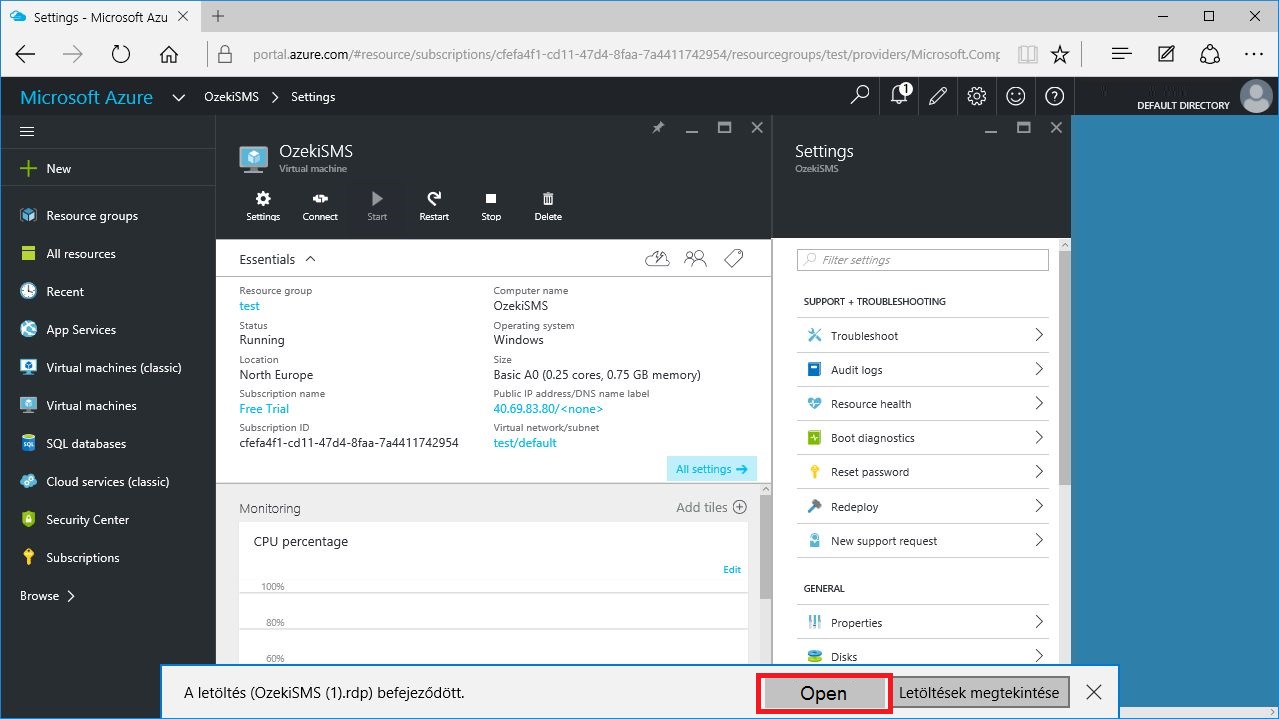
If you click on it, its administration page will be loaded. Clicking Connect button creates and downloads a Remote Desktop Protocol file (.rdp file) (Figure 11).
If the RDP file is downloaded, click on it, and your VM will be opened automatically (Figure 12).
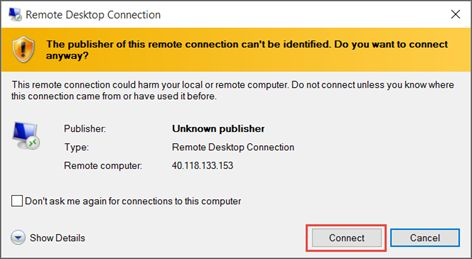
You will get a warning that the .rdp is from an unknown publisher. This is normal. In the Remote Desktop window, click on Connect button to continue (Figure 13).
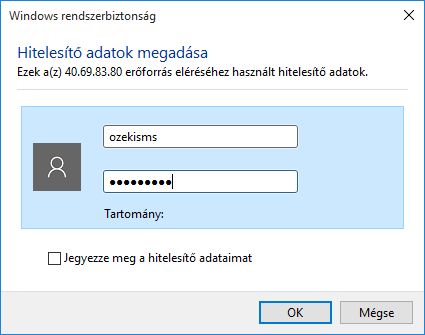
On the next window you need to provide the authentication data that you have given during the process when you created the VM (Figure 14).
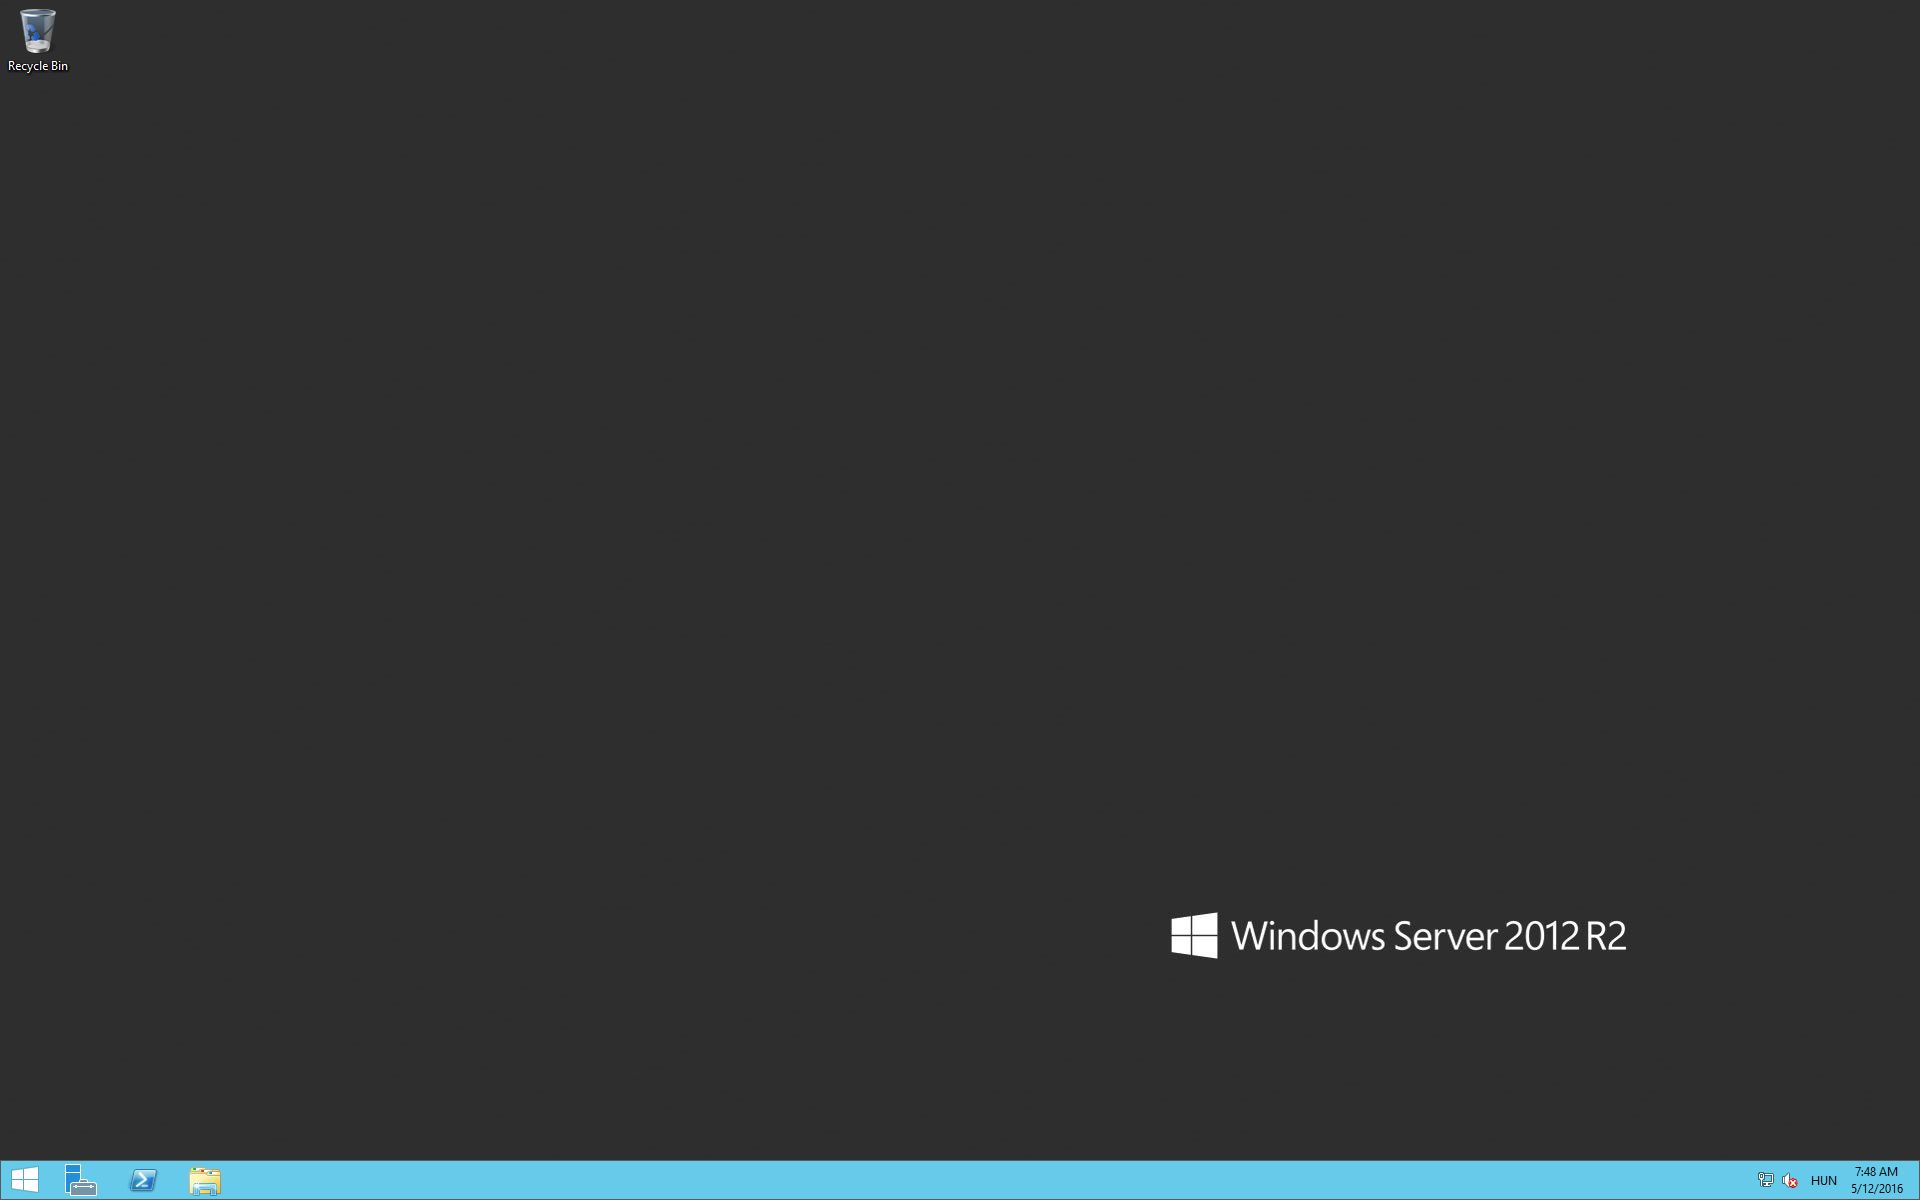
If the username and password are correct, the desktop of the installed VM will be opened (Figure 15).
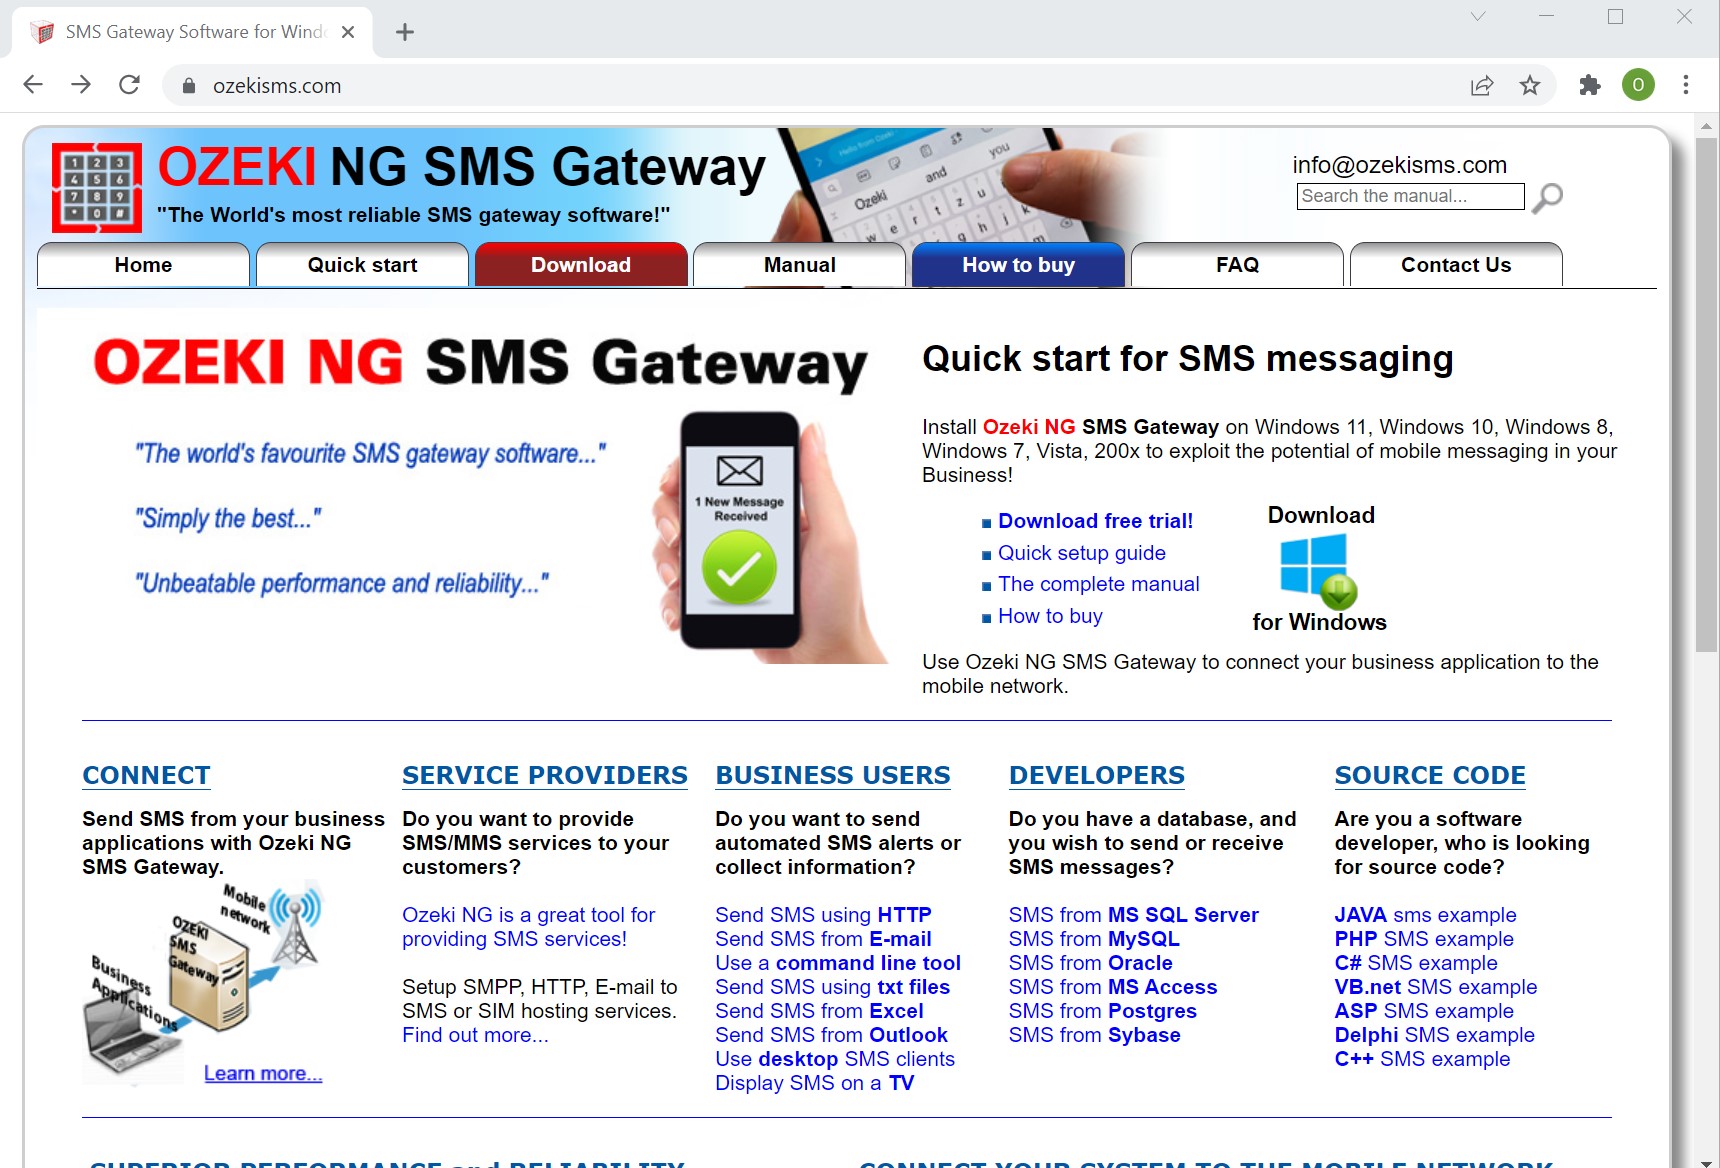
Open the webpage of Ozeki NG SMS Gateway (http://www.ozekisms.com), click on Download menu (Figure 16).
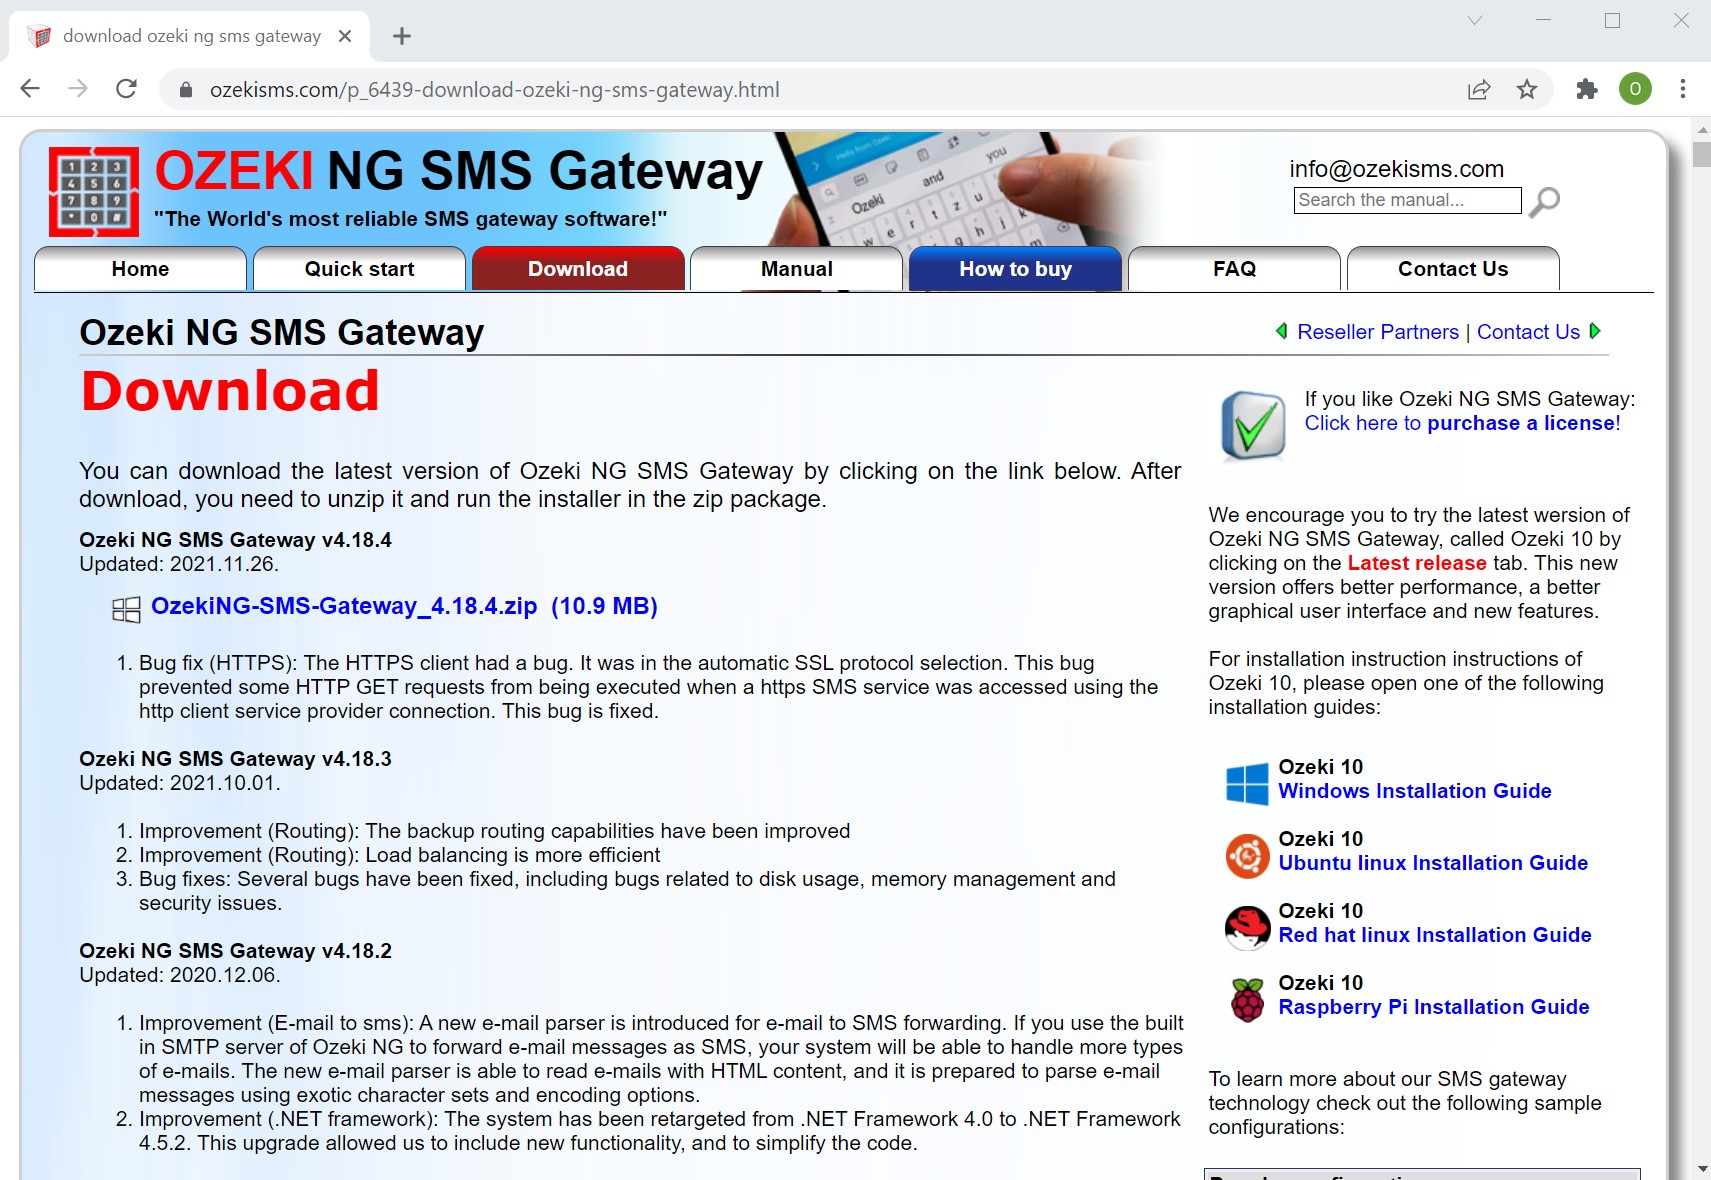
On the next page click on the Download link to start your download. Unzip the downloaded file, and click on the installed file (Figure 17).
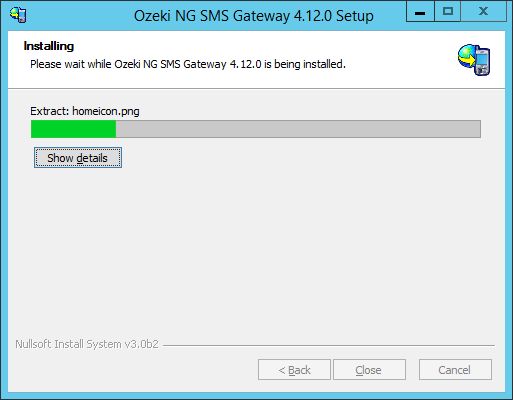
During the installation process, follow the steps and at the end of the installation, your Ozeki NG SMS Gateway will be opened automatically (Figure 18).
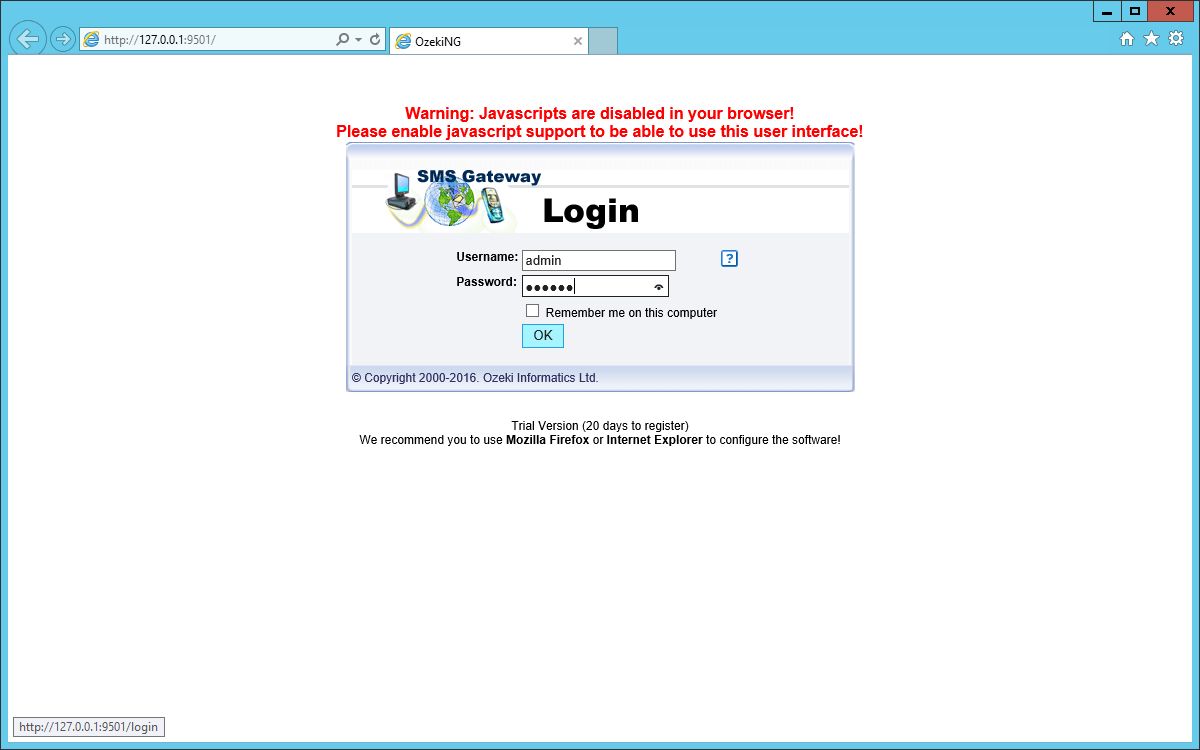
Login with the admin username and password that you have provided during the installation (Figure 19).
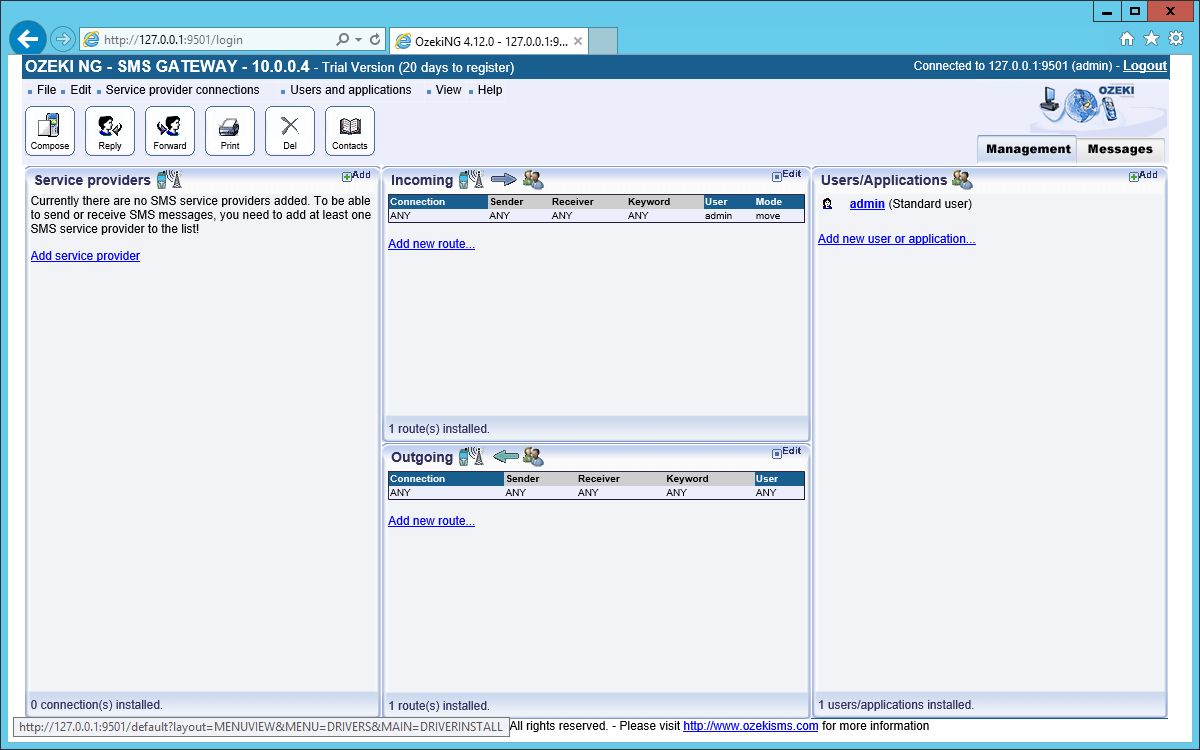
The administration page of the gateway will be loaded where you can install service provider connections, users and make other settings (Figure 20).
In this guide, an HTTP Server service provider connection is added (Figure 21).
Note: HTTP Server is not suitable for sending
SMS messages. It is only for testing purposes!
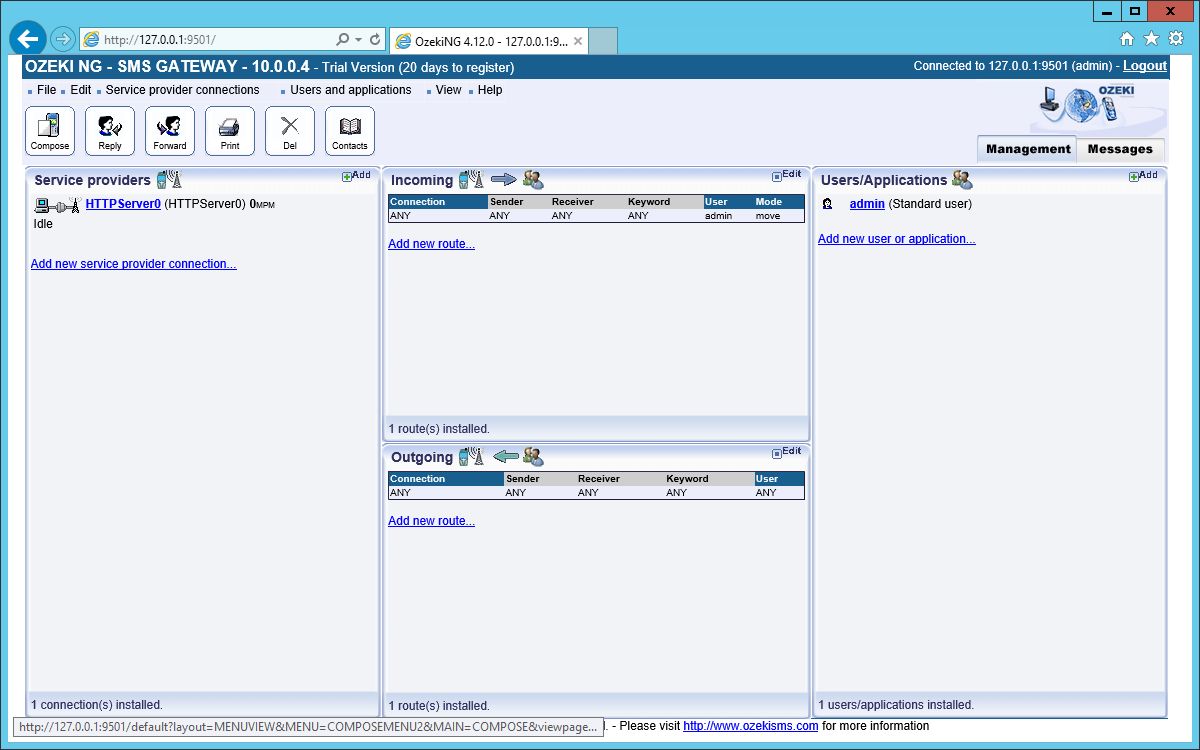
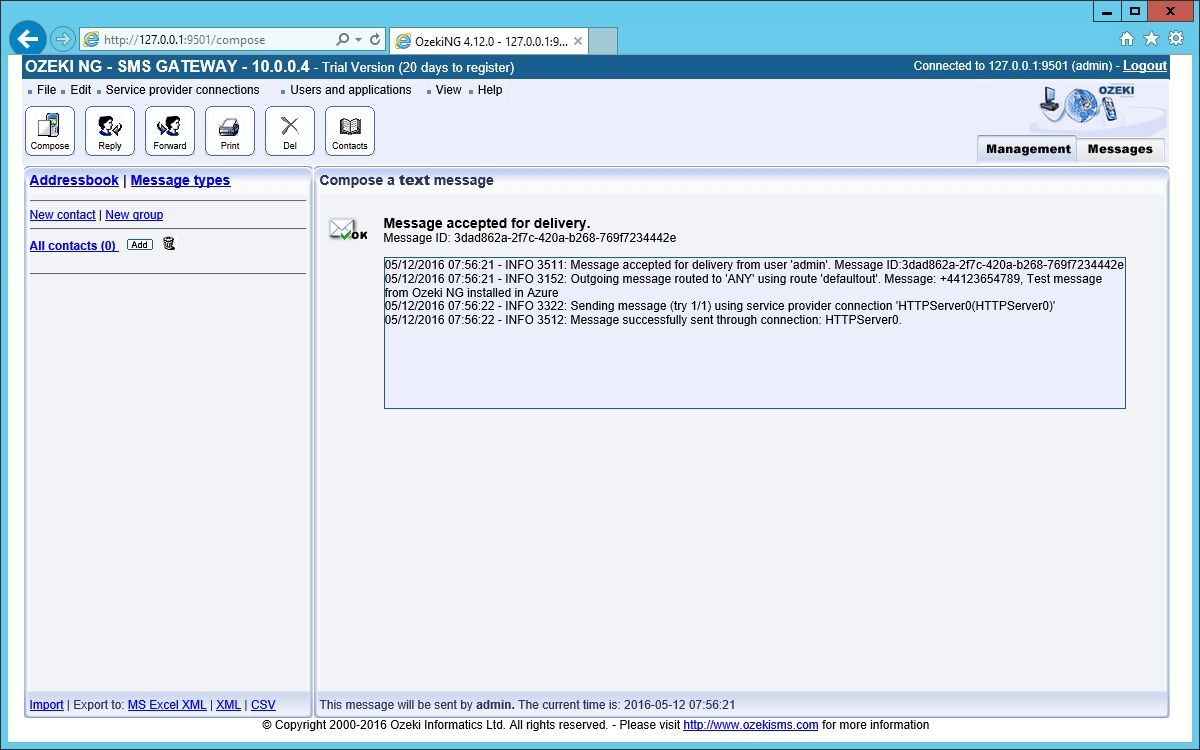
If you click on Compose button, it is possible to send SMS messages from the GUI of Ozeki NG SMS Gateway (Figure 22).
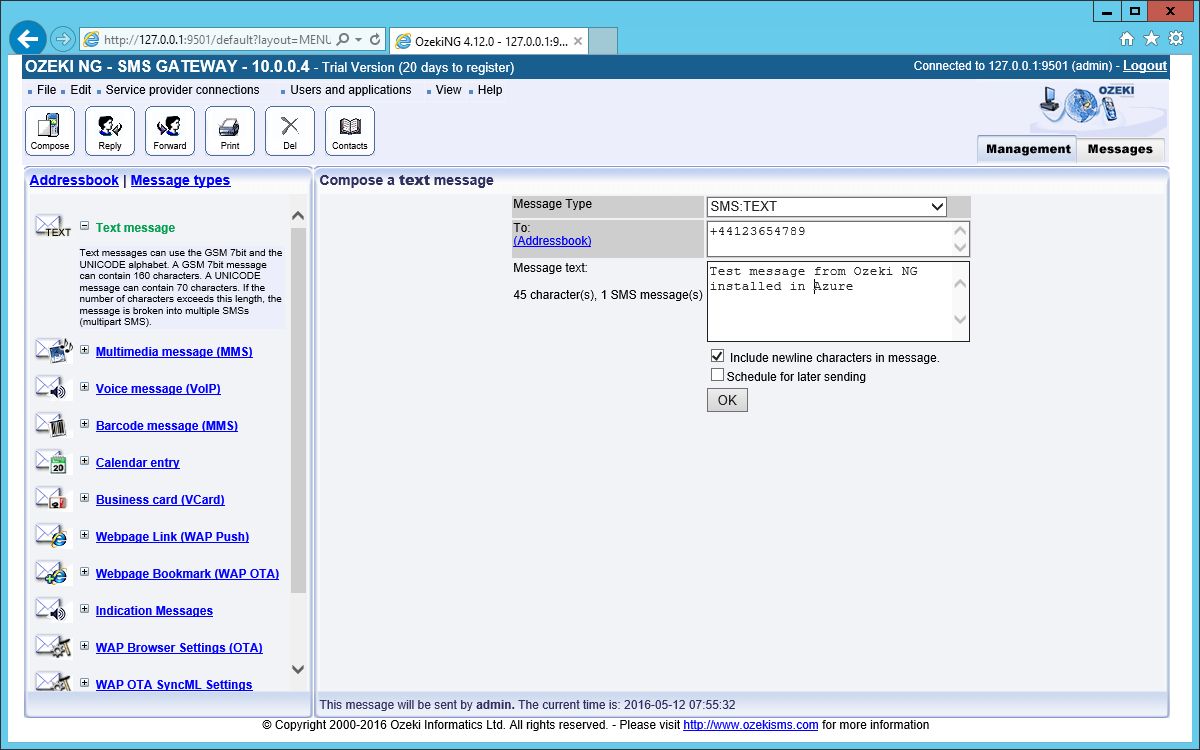
If you have clicked on Ok button, you can see whether the SMS messages were sent out successfully or not (Figure 23).
